
This bedroom turned craft room has been in the works for years.
Have you ever had a project like that?
Have you ever had a project like that?
We are talking 30 years.

Here are some of the before pics.
I have to warn you about the quality of the pictures.

Here are some of the before pics.
I have to warn you about the quality of the pictures.
These were originally photos that were developed about 35 years ago and I just found them this week.
I then took pictures of the pictures with my phone, lol. ( I saw my daughter do this, ha).

Like I said, this was taken about 30 to 35 years ago.
I then took pictures of the pictures with my phone, lol. ( I saw my daughter do this, ha).

Like I said, this was taken about 30 to 35 years ago.
Love the green, NOT.
You can see I started painting it white.

We put our junk in here obviously (old washing machine).

Added an ivory stencil and called it good. Lol.
This brings back memories and how poor my taste was.
The pictures below still have some of the old insulation. Adding new sheetrock and removing the paneling.


Three walls are sheetrock and 1 is cement. (Ivory wall)
The next pic is when I decided to cover the ivory and stencil a grapevine and flowers.
This had to be 20 years ago or so.


There has always been a big gap above on the cement wall as you can see above. (Because I tore the trim off years ago).
When the trim came down, I filled it.
You can see I started painting it white.

We put our junk in here obviously (old washing machine).

Added an ivory stencil and called it good. Lol.
This brings back memories and how poor my taste was.
The pictures below still have some of the old insulation. Adding new sheetrock and removing the paneling.


The next pic is when I decided to cover the ivory and stencil a grapevine and flowers.
This had to be 20 years ago or so.


There has always been a big gap above on the cement wall as you can see above. (Because I tore the trim off years ago).
When the trim came down, I filled it.
I got tired of it and decided to make it my craft room.
I tore the rest of the paneling off.
Put up sheetrock.
Decided to put up shiplap but not the traditional shiplap, the cheap stuff you do yourself. lol (sorry, can't remember what that thin board is called).


Then the 'shiplap'.


What you don't see is what I had to move to get to the walls.
Two corner hutches, air gun, tank and a ton of other things back and forth.


The 4 pics above show the space under the stairs.
In the 2 above pics you can see the little door that belongs in that space.
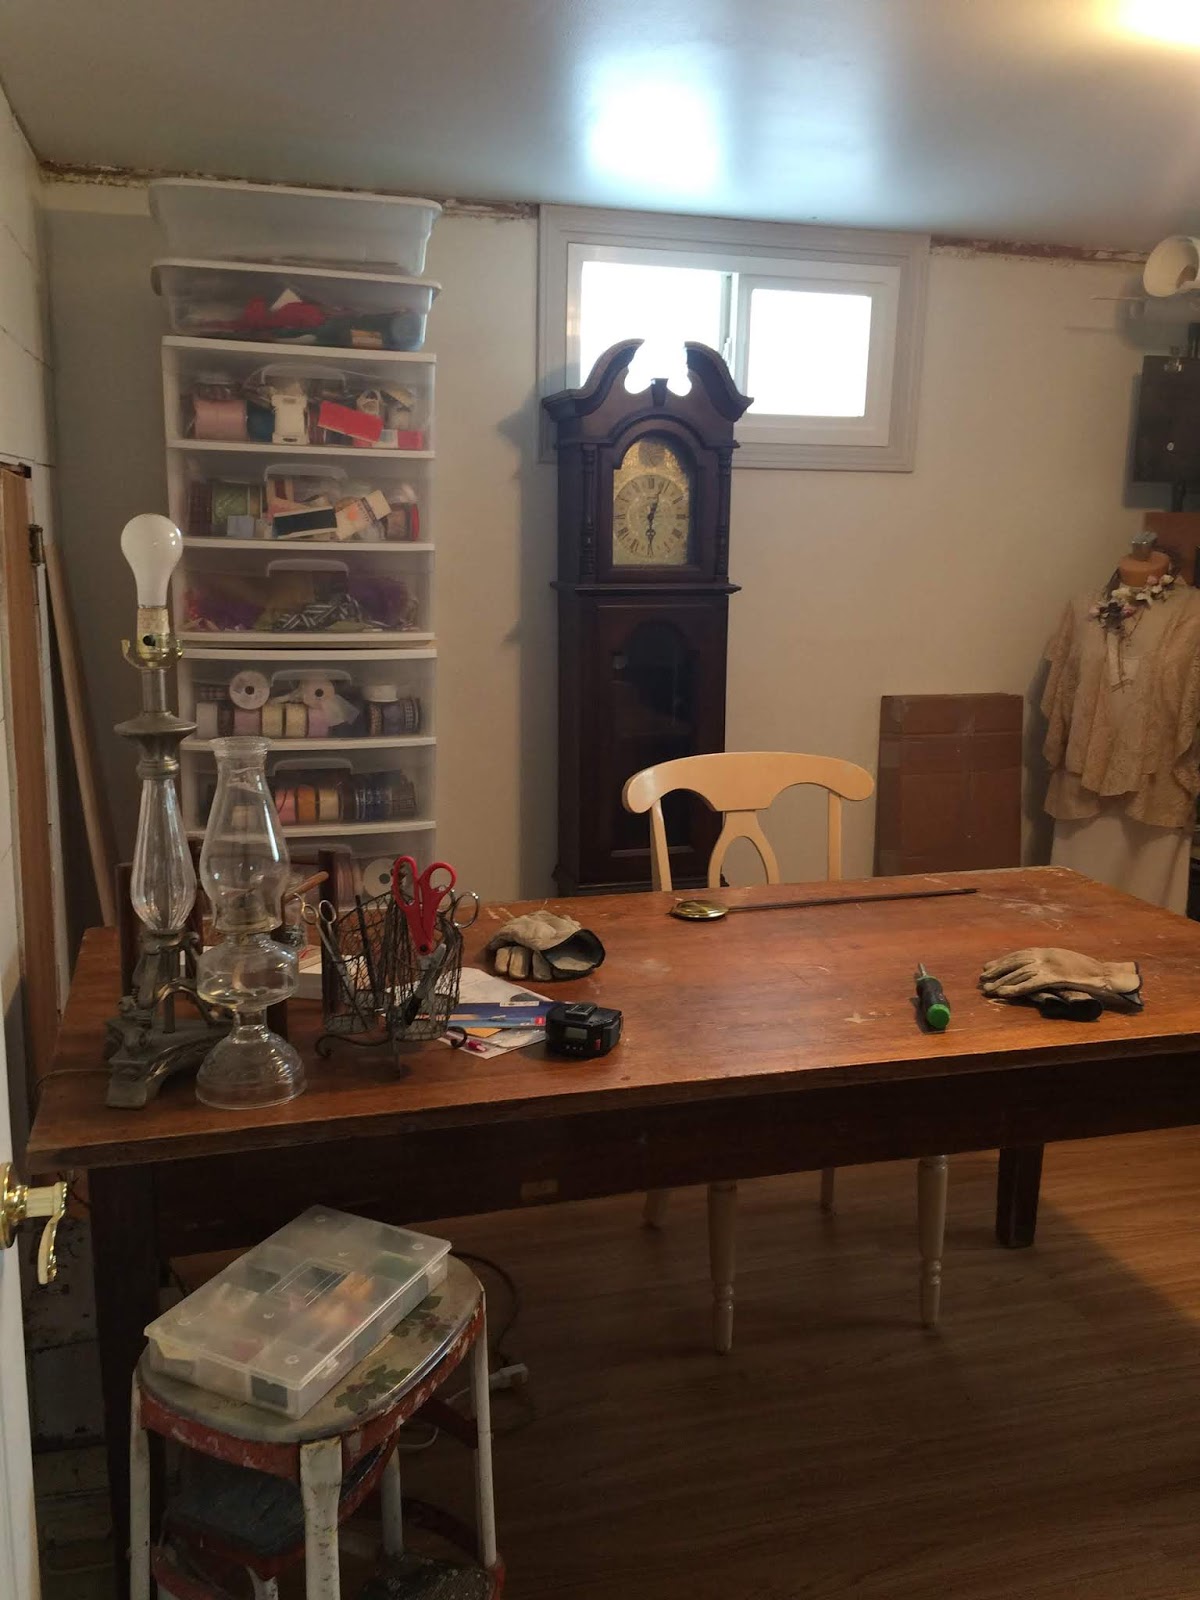
Painted everything white!!

Next, I had to do some touch up (which I still have to do some patchwork on the ceiling).
The window I trimmed in gray.

Next was the flooring.
You can tell by the walls and the flooring, it was built in the 60's.

And here is a picture of it all done except the molding and the window needs to be framed in.


Here is the door I was talking about above.
My husband tried to get it to fit back in and it does if you don't open it, lol.
I took this door off of its hinges about 30 years ago and it has warped since then, lol.

I was going to put shiplap on the door and disguise it that way but since it was warped I had to think of something else.
One day while waiting for a client, I saw this beautiful glass door and new I had to buy it!
$16. I ended coming up that weekend with the truck and taking it home.

It is a nice light minty green.

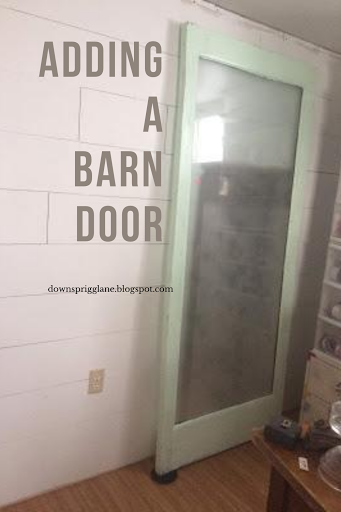
It is on furniture pads so I could move it without scratching the floor.
It is very heavy.
And to figure out what to do to make it open I opted for a barn door effect.
I also need to frost it some more or put up a paper lace background on the glass so you can't see the short black hole behind it.

And I had this handle in my stash.
My wonderful husband found a way to add it to the door.
He is also the one who put up the barn door attachment.
Isn't this just gorgeous??


I'm so glad that this room is almost finished!
It brings me such happiness every time I step foot in here.
I know this was a long post but I hope you enjoyed the ride through time.
Have a great weekend!
Have you ever had a project that took years in the making?
 |
| Under the stairs. We call it the troll room lol. |


The 4 pics above show the space under the stairs.
In the 2 above pics you can see the little door that belongs in that space.
 |
| Starting shiplap |
Painted everything white!!

Next, I had to do some touch up (which I still have to do some patchwork on the ceiling).
The window I trimmed in gray.
 |
| Old flooring |
Next was the flooring.
You can tell by the walls and the flooring, it was built in the 60's.

Next, I laid the flooring.
What a difference this stuff makes.And here is a picture of it all done except the molding and the window needs to be framed in.


Here is the door I was talking about above.
My husband tried to get it to fit back in and it does if you don't open it, lol.
I took this door off of its hinges about 30 years ago and it has warped since then, lol.

 |
| Door to the room under the stairs on the right side |
I was going to put shiplap on the door and disguise it that way but since it was warped I had to think of something else.
One day while waiting for a client, I saw this beautiful glass door and new I had to buy it!
$16. I ended coming up that weekend with the truck and taking it home.

It is a nice light minty green.


It is on furniture pads so I could move it without scratching the floor.
It is very heavy.
And to figure out what to do to make it open I opted for a barn door effect.
I also need to frost it some more or put up a paper lace background on the glass so you can't see the short black hole behind it.

 |
| No handle yet. |
And I had this handle in my stash.
My wonderful husband found a way to add it to the door.
He is also the one who put up the barn door attachment.
Isn't this just gorgeous??


I'm so glad that this room is almost finished!
It brings me such happiness every time I step foot in here.
I know this was a long post but I hope you enjoyed the ride through time.
Have a great weekend!
Have you ever had a project that took years in the making?
Have a wonderful week,
Cheryl
BLOG PARTIES
No comments:
Post a Comment
Please visit my site at downsprigglane.com
Note: Only a member of this blog may post a comment.